Tiger VNC what is it and how will it be useful to you in your work?
Hello friends! Many people often ask the question: how can you remotely connect to a PC or a server? This is where VNC comes to the rescue — and in this article, we will discuss what it is, how to install it, what advantages it has, and on which platforms it can be used! But I want to say right away that there are different types of VNC, and today we will talk specifically about Tiger VNC, since it is used by a large number of people and IT specialists.
What is Tiger VNC?
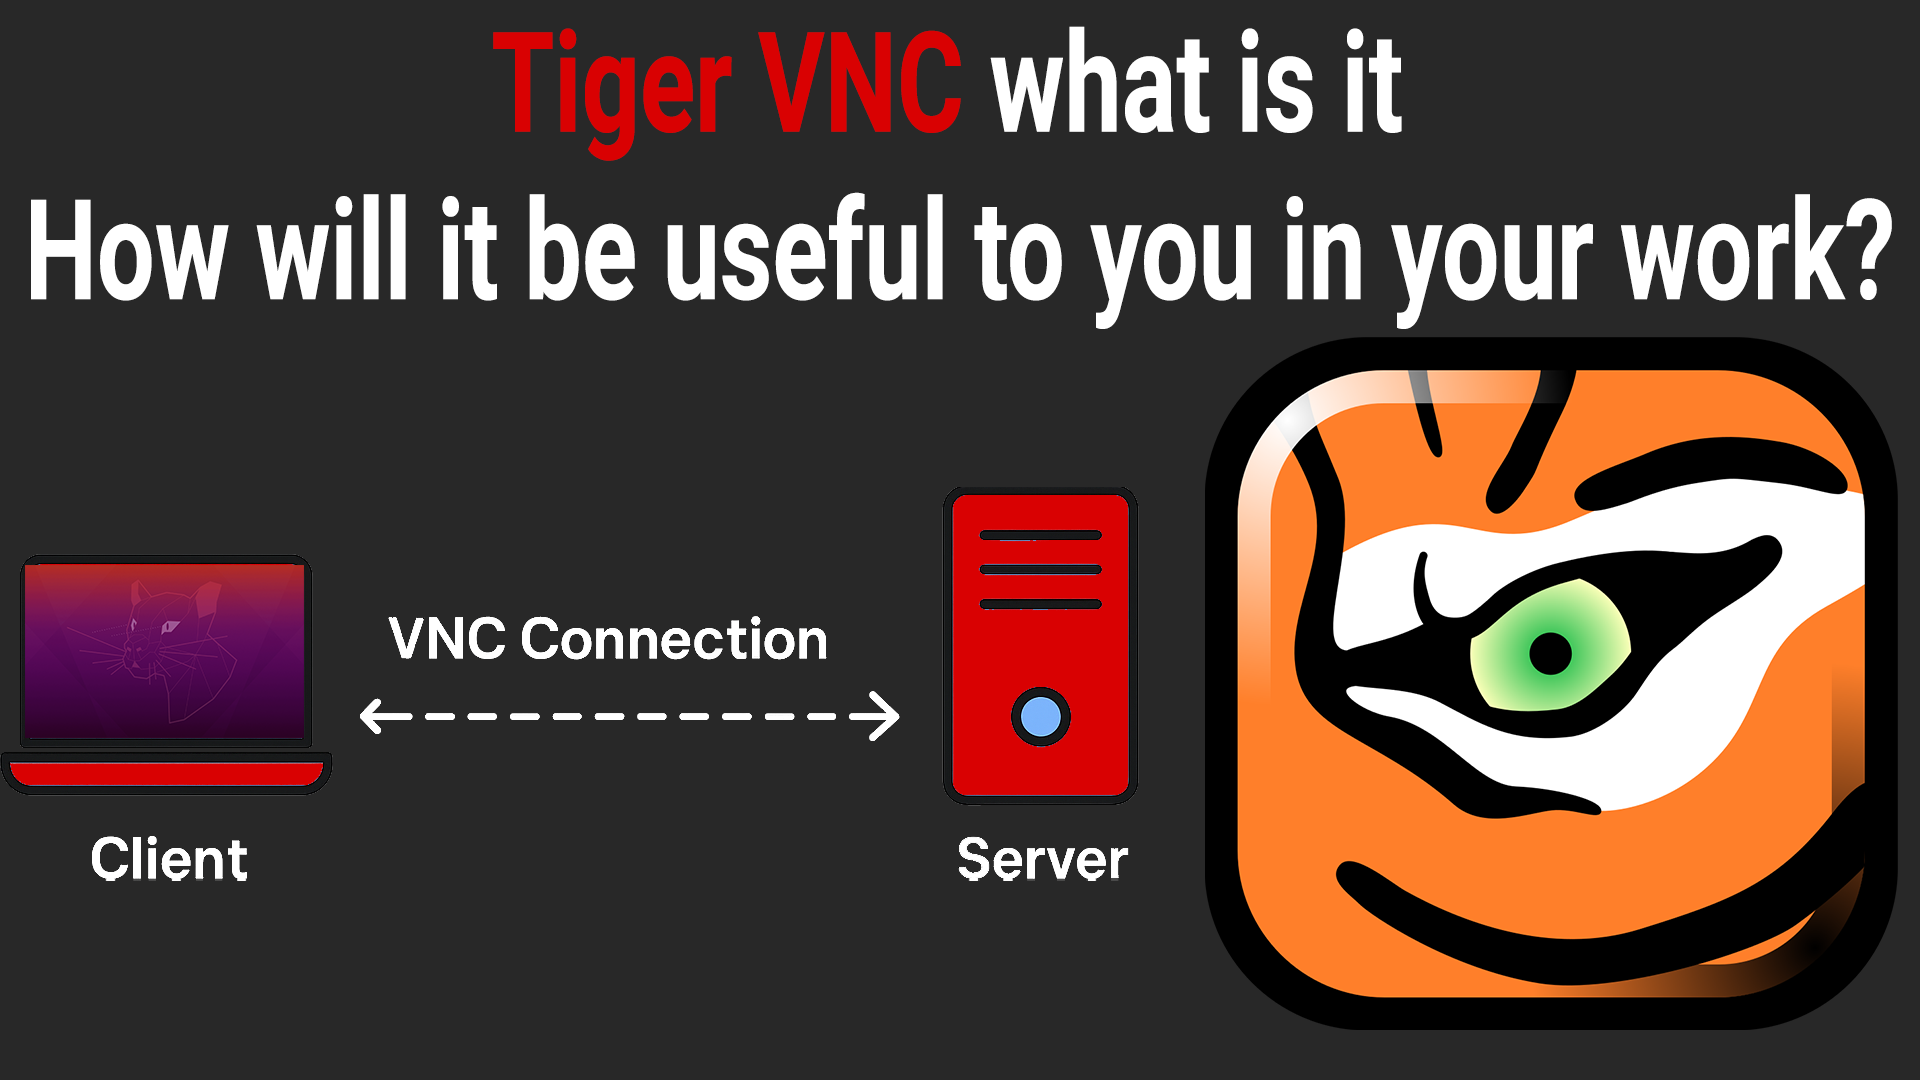
Tiger VNC is a fast, cross-platform VNC server and VNC client with support for modern display technologies. It allows you to remotely connect to the graphical desktop of Linux (Ubuntu), Windows, and macOS via the VNC network protocol. Thanks to this, you can easily connect to your client’s or friend's computer and help them install applications or test their computer.
You can download it from this link — https://tigervnc.org/
Advantages of using Tiger VNC?
There are many advantages to using Tiger VNC, for example:
-
Fast and smooth remote access (better than most VNC solutions).
-
Compatible with GNOME, XFCE, KDE, and other desktop environments.
-
Creates virtual sessions — works even without a monitor.
-
Secure — supports encryption and SSH tunnels.
-
Cross-platform — a client exists for Linux, Windows, macOS.
-
Easy installation with one command.
-
Support for high resolutions (Full HD, 2K, 4K).
Thanks to its compatibility, you can easily interact with a Linux server, not worry about security thanks to SSH support, and most importantly — it's cross-platform, which means you can connect to any PC with any OS.
On which platforms can it be installed?
Tiger VNC is available in two variations — Server and Client.
The server is available on Linux, macOS, and Unix systems; on Windows it is used less often, but is also available. However, it’s usually replaced with other applications when working Windows-to-Windows.
The client is available on Linux, macOS, Windows, ARM, and even Android. This is a big advantage because you can work with all platforms without needing to install dozens of different applications — just one Tiger VNC is enough.
How to install Tiger VNC on Linux?
Now I will show you the commands for installing Tiger VNC on Ubuntu. These are fairly simple steps that you can follow to get a working Tiger VNC server.
1. Update the system
2. Install XFCE
3. Install TigerVNC
4. Create a VNC password
5. First VNC launch
6. Stop the session
7. Configure xstartup
Insert:
8. Grant execution permission
9. Restart VNC
Video instructions for installing Tiger VNC on Ubuntu
For those who need a more visual example of installation so you can see how to install and use the Tiger VNC client, I created a video:
It is important to understand that to connect through the Tiger VNC client to a server, your Linux server must have a graphical environment installed, for example GNOME.
You can also find out how to install GNOME on a server from a video on our channel; I will duplicate it here as well:
Conclusion
In this article, we discussed what Tiger VNC is and how to install it. The main thing is not to forget that to install and use both the server and client, your Linux system must have a preinstalled graphical environment. For example, I use the GNOME environment on my Ubuntu server and consider it quite convenient and easy to install. I hope this article was useful to you, and I wish you good luck working with Tiger VNC.
Author of the article — Anatolie Cohaniuc